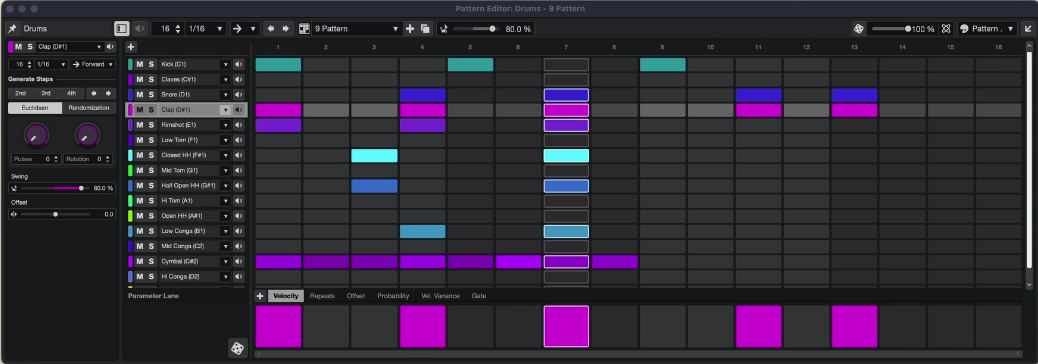
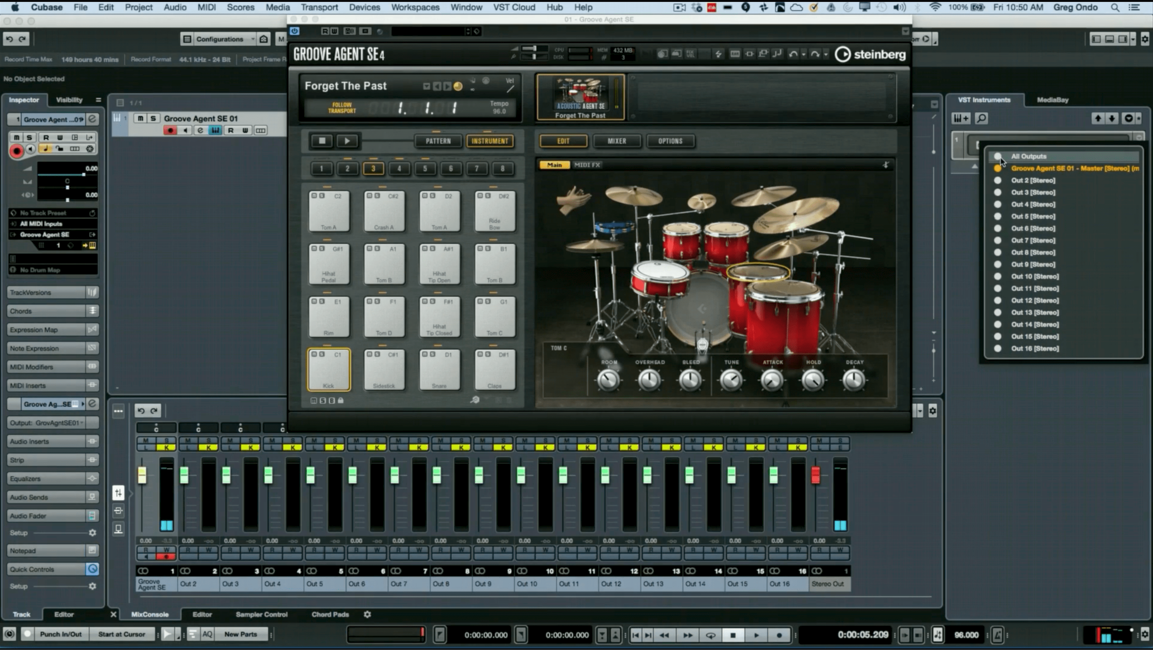
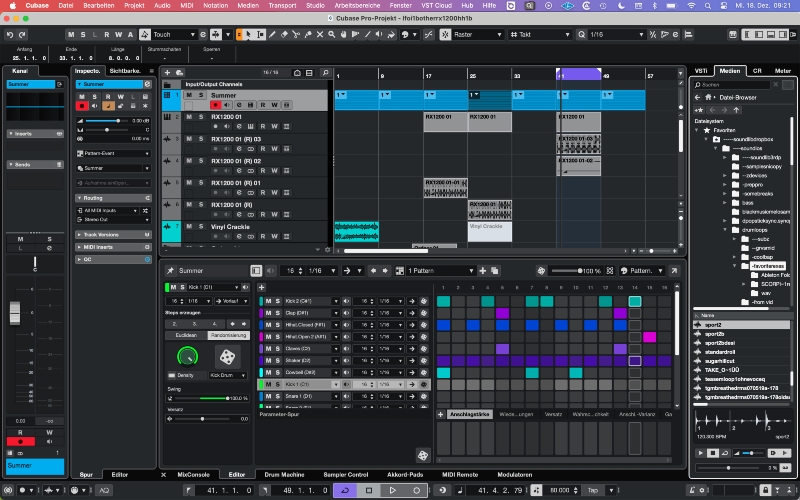
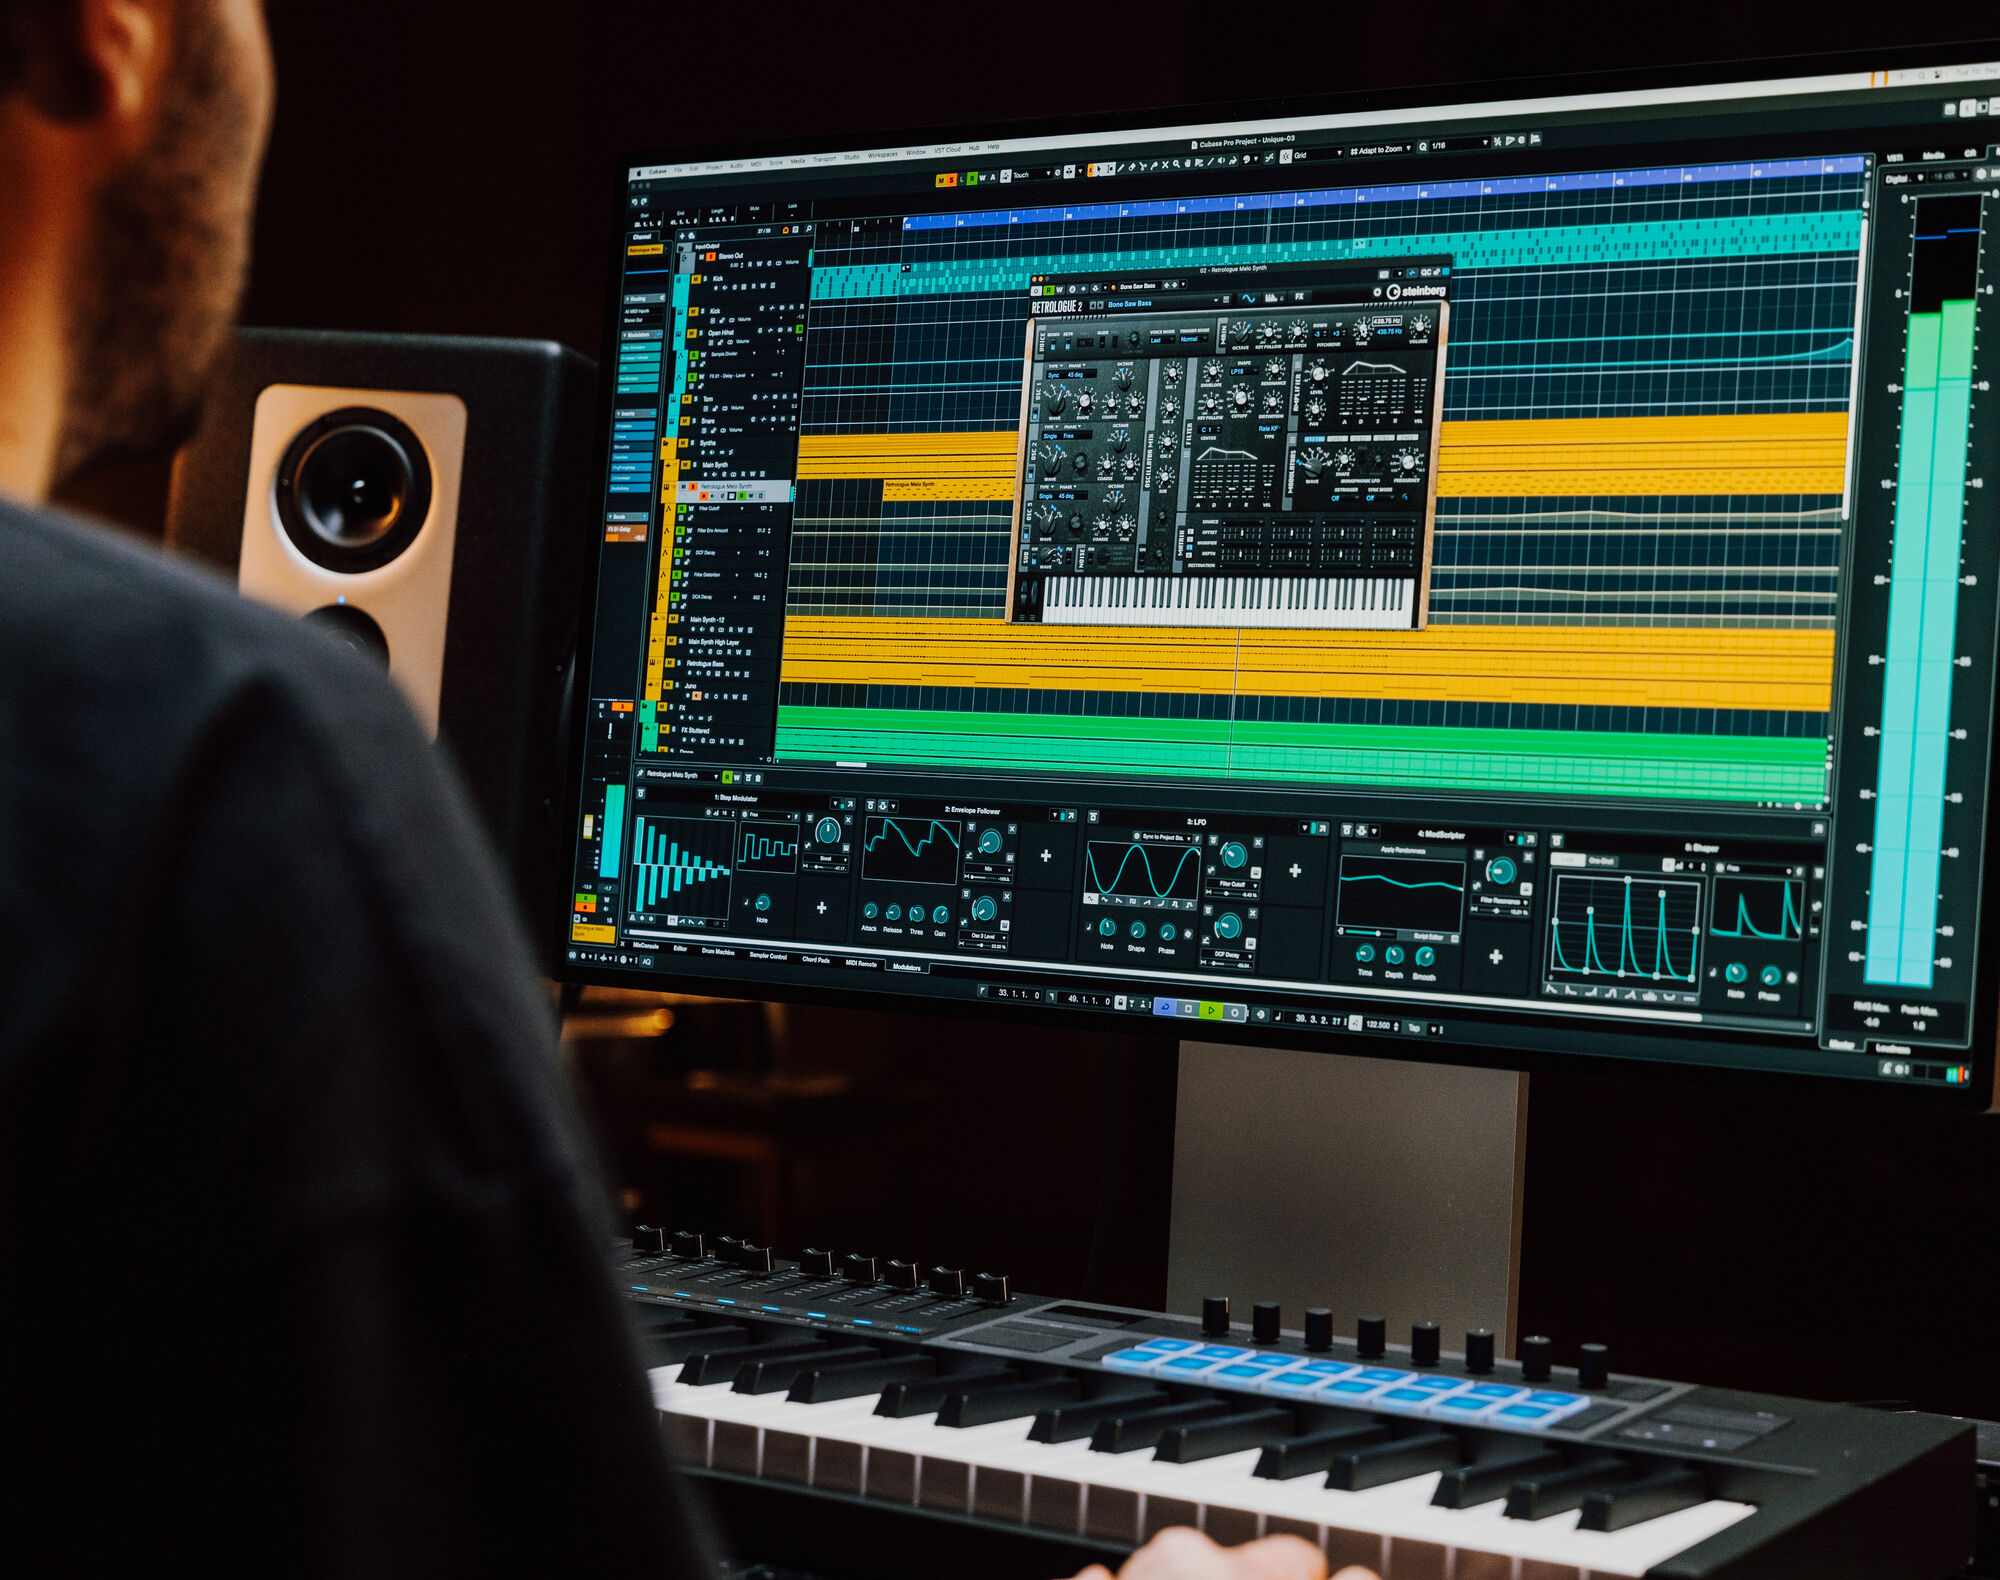
Cubase is what’s known as a Digital Audio Workstation (DAW). This is software for recording, editing, and producing audio and MIDI files. Cubase is one of the most comprehensive DAWs on the market and is used in professional studios (see Interface and Sound on Sound).

Want to start making your own music, get into mixing, or finally get the most out of Cubase? With my online lessons, I’ll teach you step by step how to work professionally with Cubase—whether you’re just starting out or already have some experience.

  • Are you a complete beginner? I’ll first explain how Cubase works, how it’s organized, and how to set up your audio correctly.
  • Depending on your goals, many different topics can be covered—for example: Cubase setup, effects and plugins, audio and MIDI editing, inserts and sends, volume automation, using the MixConsole, Drum Machine or Chord Tracks, and much more.
  • You’ll learn to apply pitch correction to a recorded vocal track using VariAudio.
  • You’ll learn how to record audio (like instruments and vocals) and MIDI.
  • If you want to learn more about mixing and mastering in Cubase, we’ll work with a real multitrack recording and shape it into a professional-sounding track using Cubase (and other) plugins.
  • You can also learn how to integrate external hardware (such as a reverb unit or a DAW controller like the nanoKONTROL) with Cubase.
  • We’ll work on your (first) song.

I offer personal guidance, practical tips, and directly applicable knowledge. With more than 35 years of experience in Cubase, a cum laude degree in music production, 30 years of band experience (keyboards), and extensive knowledge of recording, mixing, and mastering, I guarantee solid Cubase training.

Whether you’re a singer-songwriter, producer, or just want to make music as a hobby—I’ll help you get started. Inquire about the possibilities and send me an email at cubaselessen@gmail.com.


 Information about the lessons

Content of the lessons

You let me know your wishes during a short online intake meeting prior to the first lesson. I will tailor and prepare my lessons accordingly. Of course, you can also let me know during the process what you want to learn. This introduction also allows me to assess whether I can provide what you’re looking for.

This intake session will be done via Zoom, so make sure you have it installed (download). During this Zoom session I will also ask some other questions to find out what your background knowledge is, and I will explain how I work. Even if you have no musical background at all, you can get started with Cubase.

  • Do you play an instrument?
  • Do you write your own songs? In what style?
  • Which version of Cubase do you use?
  • What is your prior knowledge of Cubase, and what do you want to achieve?
  • Do you use third-party plugins like FabFilter, UAD, MeldaProduction, etc.?
  • Do you use an external audio interface like from Steinberg or Focusrite?
  • Do you use other hardware like (MIDI) keyboards, DAW controllers, outboard gear (like reverb)?
  • Are you familiar with music notation and chords?
  • Do you have experience with mixing or composing/arranging?
  • Agreements about price, time, and lesson duration.
  • Explanation of Fiverr usage.

Lesson time and duration

I give Cubase lessons in addition to another job and musical activities. Therefore, I only teach a limited number of students. Together, we will schedule the lessons (in terms of frequency, timing, and duration). For me, weekends and evenings are usually the most suitable times. We can schedule a few lessons in advance or plan a lesson whenever you want to learn something new.

Usually, I teach 1-hour lessons. But we can also schedule longer lessons. If you’re an absolute beginner, a 2-hour introductory lesson is a good option to get you started right away. You set the pace of the lessons.

Stopping the lessons

I don’t have a cancellation policy. So you can (temporarily) stop whenever you like.

Prices and payment

For 1 hour of lesson, I charge 25 Euro (see below), but see below. After 5 lessons, you get a free sixth lesson. I keep this price low to make it easier to take multiple lessons. You also pay per lesson. So you don’t have to spend a large amount at once. You won’t find it cheaper than this.

Payments are done via Fiverr (see below; creating a Fiverr account) prior to a lesson. I do this because it simplifies my administration and because Zoom calls initiated through Fiverr are automatically recorded. In addition, you can also leave a review there (which I greatly appreciate). Once you’ve created an account on Fiverr, I will offer you one or more lessons (so don’t place an Order yourself!). I explain Fiverr in more detail below.

Since I use Fiverr, I calculate the price of a lesson in dollars instead of euros. At the moment, I charge $23 for one lesson. On top of this, Fiverr charges you a service fee, which is currently 5.5% of the lesson price plus $3.50. In total, one lesson therefore costs about $27. Converted to euros, this means a lesson price of roughly €24–25 depending on the daily exchange rate.

If I don’t give the agreed lesson (e.g., due to illness), you’ll get your money back from Fiverr, or we can reschedule the lesson for a later time.

It may sound complicated, but in practice, this works smoothly and well, and it’s also a safe way for you to pay!

Canceling a booked lesson.

Once a lesson has been booked through Fiverr, it can be canceled or rescheduled up to 24 hours before the start time.

What do we do during the lessons?

Below are a few different examples of topics that may be covered during the lessons. However, the lessons will be much more interactive than what is shown in the videos. I will ask you to follow my explanations on your own computer, and if needed, I can watch your screen as well. I also have assignments that you’ll need to work on during or prior to a lesson..


1. Getting started with a multitrack recording


Below is a raw multitrack recording of a band recorded in a studio. In Cubase, we have individual tracks such as kick drum, snare, bass guitar, guitar, Hammond, and vocals. Using Cubase, we’ll look at how to organize such a multitrack and how to use plugins like compressors, EQ, and reverb to produce a professional-sounding track.

The audio clip below represents the raw recording. No audio processing has been applied yet, and the balance has not been adjusted.


Below the raw mix of a student. This requires a bit more knowledge of Cubase and of the principles of mixing, but you’ll be able to do this too in the end.


2. How do we add reverb to a vocal recording?


Below is an example (video in Dutch) of a topic I explain during the lessons: using plugins. This is a basic functionality in Cubase for editing audio; in this case by adding reverb to a vocal recording.

During the lesson, I’ll ask you to do this yourself in Cubase so that you easily remember how to do it and so I can help you if you run into any issues. Often, I’ll also give you some ‘homework’ to help you master a number of specific features.

.


3. Making your own song


Below is an example of a song made by one of my former students (with thanks to Wim Terheij for allowing me to use this). Various aspects of Cubase have been used in this track. He made use of samples and virtual instruments that come with Cubase (see Cubase Features). This song provides a great starting point for further refinement or to add another track if you play an instrument yourself. Starting at 16:30 in the video, you can hear what the song sounds like. The audio quality of this video is not optimal and, therefore, I have added the audio clip below the video).

Want to know how to publish this on Spotify, iTunes, Apple Music, or other streaming platforms? I can help you with that too.


4. Cubase configuration: templates


In Cubase, you can configure many things yourself to match your workflow. For example, you can define templates that can be used as a starting point for a new project. Templates are essentially projects (usually) without audio, but where you’ve already set up other settings such as specific tracks with plugins, mix bus configurations, effects (FX) tracks, and virtual instruments. Below, I explain how to create a template.


5. Assignment: audio editing and midi extraction


Select a mono audio file using the Media Browser (for example, vocals, bass guitar, violin, or trumpet) that is at least 2 bars long and has a different tempo than the current Cubase session. Import this file into the session. Make sure not to use Musical Mode, so that the audio tempo is not automatically adjusted.

Next, use the AudioWarp tool to adjust the tempo and rhythm of the audio file. Duplicate the audio event, and cut the file into segments and rearrange these audio fragments to create a new musical sequence, without audible artifacts caused by the edits. Consolidate the edits using Render in Place or Bounce Selection.

Now extract the MIDI from both audio events, and make adjustments so the result closely resembles the original audio files. Create a virtual instrument of your choice named “MIDI Extraction” and assign the extracted MIDI tracks to this instrument. Finally, mute the tracks containing the audio files.

 Questions and answers

Which Cubase version do I need?

You can find the different Cubase versions (Pro, Artist, Elements, AI, and LE) here on the Steinberg website. I always teach using the latest version of Cubase Pro. Currently, that’s Cubase Pro 14. However, I also have Cubase Artist, Elements, AI, and LE.

It’s no problem if you have an older version of Cubase. The latest features won’t be available in your version, and we’ll just work with all the functionality you do have.

If you haven’t purchased Cubase yet and don’t want to buy the most expensive version right away, please contact me so I can advise you on this (or other matters).

Is there a free Cubase version?

No. However, there is a ‘trial version‘ of Cubase Pro 14 and Cubase Elements. These trial versions also include all content, sample libraries, plugins, etc. You can try both versions for free for 60 days. If you want to use this trial version for the lessons to see if Cubase is right for you, activate the trial shortly before the first lesson starts.

Do I get samples and loops when I purchase Cubase?

Yes, you get samples and loops (as well as virtual instruments) when you purchase Cubase. For example, vocals, drums, and guitar for different genres. See here  for the samples included with the different Cubase versions. If you’re not familiar with samples and loops, take a look at the Soundtrap page.

What kind of computer do I need?

The minimum computer requirements can be found on the Steinberg website. In principle, it’s also possible to run Cubase on your laptop. However, if you plan to use large sample libraries and/or plugins that require more computing power, consider a more powerful computer.

What kind of sound card do I need?

In most cases, you can use your computer’s built-in sound card. However, using the built-in sound card isn’t ideal for professional audio recording and production. It’s better to use an external audio interface for better sound quality and performance (lower latency/better drivers). External interfaces offer more connection options for microphones, instruments, and other audio equipment, giving you flexibility when recording and editing audio. Many external interfaces offer additional features such as phantom power for condenser microphones and headphone outputs with volume control. Focusrite has good audio interfaces that are also inexpensive.

Do I need a (MIDI) keyboard?

No. However, a (MIDI) keyboard can simplify entering/playing music (MIDI or audio). There are many types of keyboards available, and they don’t have to be expensive, but consider beforehand what you want to be able to do with it. See, for example, the Thomann webshop.

Can I record my own instrument or vocals with Cubase?

Yes. You can record vocals or instruments. You will need an audio interface to which you can connect your instrument and/or microphone. You can even record multiple tracks at the same time; for example, vocals and guitar.

Can I use both Windows and Mac?

You can use both types of computers for Cubase. I’m a Windows user myself and don’t own a Mac. Therefore, I have little knowledge of Mac computer configuration and file storage, but in practice, this has never been a problem.

Can the lessons be taught in English?

Yes, I provide lessons in English and Dutch.

Is you question not listed?

Just send me an email: cubaselessen@gmail.com

 Fiverr, Zoom, and RustDesk


The Fiverr platform

For my lessons, I use Fiverr to handle payments (see below) and so you can download a video of the online lesson. Before the first lesson, you must first create a Fiverr account. The videos of our lessons are for personal use only and may not be shared via social media or otherwise.

Once you have a Fiverr account and we’ve scheduled the first lesson(s):

  • Send me a message through my Fiverr account (via “Contact me”). Do not place an order yourself.
  • I will then send you an offer. You will receive this via email, but you can also view it in your own Fiverr account.
  • Once you accept this offer, we’re ready to begin the lesson.

In this document I explain Fiverr in more detail: [Fiverr explanation.pdf]

Online lessons via Zoom

I teach my lessons online via Zoom. Zoom must be installed on your computer. You can download Zoom.

  • You also need a microphone and webcam so we can communicate and see each other.
  • Also, make sure you have Zoom and Cubase installed on the same computer. This way, you can share your screen, and I can watch along if necessary.

Because I work through the Fiverr platform, lessons are automatically recorded, and you can download and watch them later. We can also easily exchange files (e.g., audio or MIDI files) via Fiverr.

I also use professional software from Audiomovers so I can stream high-quality audio during a Zoom meeting if I need to speak.

RustDesk

Sometimes it’s convenient if I can demonstrate something, configure something, or solve a problem on your computer. I use RustDesk for this. I only do this in consultation and if you prefer. If this is the case, I have a separate manual for this. With RustDesk, I can also watch along on your computer when I’ve shared my screen via Zoom. In addition, I can hear what your Cubase project is playing.


 Start your first lesson soon!

Summary

  1. Download and install Zoom. Make sure you have a webcam and microphone.
  2. We’ll have an online introductory meeting via Zoom. We’ll also schedule the first lesson.
  3. Make sure you have Cubase installed and your audio is working (if necessary, I can help you with this during the first lesson).
  4. Create an account on Fiverr.
  5. I’ll offer a lesson through Fiverr.
  6. As soon as you accept my lesson offer, we can get started.

Contact

Cubase Academy
Antoine
cubaselessen@gmail.com
www.cubase-academy.nl


Cubase Academy

Selected reviews